How To Season a Cast Iron Pan [Easy & Long Lasting Method]
Confused about how to season a cast iron pan?
No worries, you’ve come to the right place.
In this article, you’ll learn how to do it the safe, simple and long-lasting way.
It’ll extend the life of your pan and keep your pans nonstick.
Ready to dive in?
Let’s go!
But first, what are the different types of cast-iron pans?
This comprehensive guide will show you all the appropriate steps to season a cast iron pan.
What is a cast iron pan and the different types?
 This sounds like a trick question. We get it. However, when it comes to cast iron pans there are so many different types that it is important to get the differences between them and the definitions right.
On the surface, it can be easy to just say “it’s a pan made from cast iron” and leave it at that. However, it is important to realize that there is not just one cast iron pan.
Cast iron is a term that is used to describe many items of cookware. The pans come in all shapes and sizes.
Cast iron is in reference to the material it is made from. It is a very heavy duty iron that is heralded for its properties. It has excellent heat retention and can handle very high temperatures, hence why it is so desired for cookware.
Cast iron has been used for cookware for hundreds of years. It is very economical in the sense that, if looked after, they can last for a very long time! This is why they can so often be found in antique stores, and why they tend to get passed down in generations of families.
Bare cast iron
Bare cast iron is typically one piece of cast iron, where the whole pan, including the handles and any lids, is made from cat iron too. This means there will be no other materials used such as ceramic or plastic for any of the parts of the pan.
Bare cast iron cookware is typically used both on the stovetop and inside the oven, making it a very versatile piece of equipment for your kitchen. Although, you need to remember that it will get even hotter than a pan with a non cast iron handle, so you need to wear oven gloves when picking it up.
This type of cast iron pan is the most common, and, at least in this article, is the main focus. You do not typically need to season the other type of cast iron pan, but bare cast iron generally always needs to be seasoned as they do not have any extra layers of enamel or other non-stick surfaces.
However, in order to understand what differentiates the bare cast iron pan from the enamel pan, we must explore both of them. Keep on reading to find out more.
Enameled cast iron
Enameled cast iron pans differ from bare cast iron because they are glazed with vitreous enamel. This glaze is applied to the surface of the plan for the purpose of providing protection against rusting. These types of pans also mean that you will not need to season them since they already have a layer of non-stick, protective substance.
Even more so, they also cannot be put in the oven, unlike their fully cast iron counterparts. Because of the additional materials used, these enameled pans are less versatile than plain bare cast iron. They are also far more expensive. They do, however, offer some benefits.
If you are trying to get down iron intake but still want the heat reduction that a cast iron pan can offer, then this would be a good choice. This is because iron cannot seep past the enamel coating, unlike the bare cast iron where the iron can leach into food.
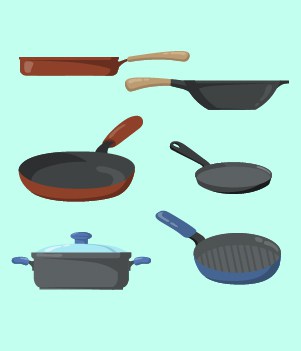
Different types of cast iron pans
When you say the term ‘cast iron pan’ it is easy for your mind to go straight to those huge casserole dishes with short stumpy handles. However, there are a number of different types of pans and cookware that come in the cast iron material, all of which can be treated in the same way as your typical cast iron pan in terms of seasoning.
If your cast iron cookware is already coated with an enamel glaze as we described under the enameled cast iron section, then seasoning is not needed. Here are some of our favorite cast iron kitchenware:
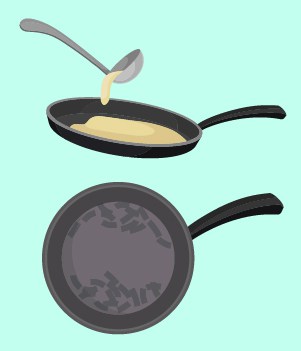
- Frying pans
- Crepe makers
- Griddles
- Cauldrons (yes, really!)
- Dutch ovens
- Flat top grills
- Waffle irons
- Woks
- Casserole dishes
- Kettles (such as the Japanese tetsubin)
Of course, this list is not exhaustive, and there are many other types of cookware that are made from cast iron. However, what we hope you can see is that oftentimes the term cast iron pan is used to talk about any of these cast iron wares.
Keep in mind, however, that if any of these cast iron cookware have any other material on them such as plastic, enamel, or any other non-oven safe material, then they will not be able to be seasoned. This is because they will not be able to be subjected to the same levels of heat, and the materials, may react negatively to the heat and the oil
Getting Familiar with Seasoning
What is seasoning?
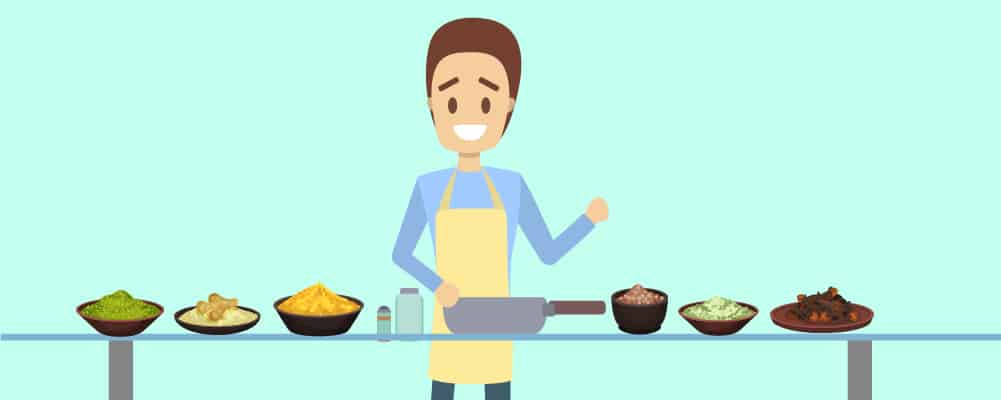
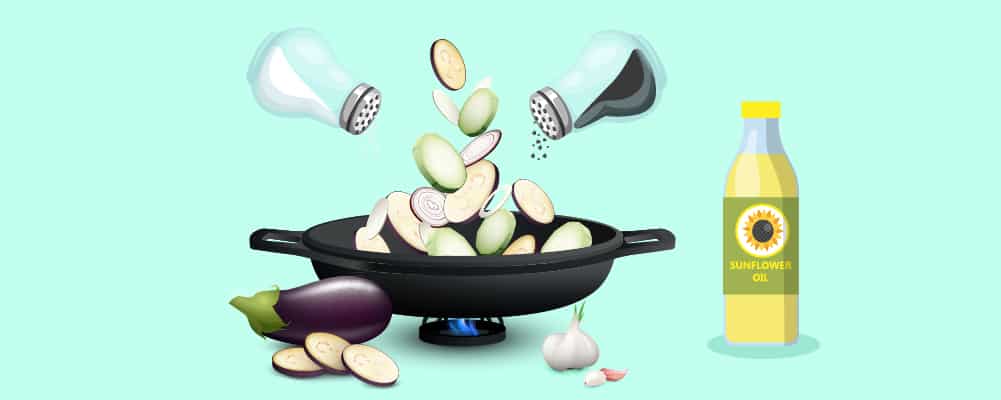
The term seasoning immediately takes your mind to salt, pepper, herbs, and spices, doesn’t it? You’re not alone there. It’s an easy mistake to make
However, seasoning in this context actually refers to the application of oil or fat onto a cast iron pan (or any other type of cast iron cookware) and the subsequent cooking of the pan. When we say cooking please don’t think we mean you to eat your new cast iron pan. Not by any means.
It is simply the act of placing it into the oven with the oil or fat and letting it ‘cook’ for a specified amount of time. The oils and fats used can vary depending on the person and their preferences. Typically vegetable oils or fats are used, but animal fat can be used if you wish.
We will be going into these oils in more detail later, so for now, suffice it to say that seasoning is an important step that needs to occur when you get your cast iron pan, and the reasons for that will be explored in the next section.
Why should you season?
 Seasoning your cast iron pan is an important step in extending the life of it, and ensuring that the quality of any food you cook in there remains as good as possible. The main purpose of it is to act as a sort of ‘non-stick’ coating.
Now, we have to be upfront. Seasoning will not give you a surface that is as non-stick as Teflon and some of the other competitors. However, what it will do is give you a natural, safe alternative.
Whereas Teflon is full of chemicals, seasoning on bare cast iron pans is done using oil or fat from vegetables or animals.
The act of seasoning involves layering the pan with your oil of choice and letting it polymerize in your oven. This adds a protective layer between the cast iron and anything that you subsequently cook within the pan.
A well-seasoned pan will ensure that no matter what foods you cook in there, the surface of the pan will stay intact. By this we mean, even if you use your cast iron cookware to cook acidic meals or something that really sticks to it, it should not cause any damage.
Think of it as an all-natural form of Teflon (or any other similar material), giving your food extra protection from the iron, and given the iron protection from the food. That being said, if you have something that is extremely acidic such as tomatoes, you should avoid cooking them for a long time in a cast iron pan. So that rules out homemade pasta sauces!
You can also use seasoning as a way of protecting your kitchenware against the general wear and tear that cookware gets subjected to. For example, a well seasoned pan will be less likely to rust and corrode. It also offers extra protection from acidic foods, high heat, air, and water.
When To Season Your Cast Iron Pan
You may be wondering when you should season your cast iron pan, and whether it is something that you should do once, or whether you need to do it a few times a year. The answer to this is it depends but fear not, we’re not going to let you figure it out for yourself.
In this section, we will be explaining when you should season it, and if there will be any need to repeat the seasoning process in the future.
When you first get your cast iron pan, it is good practice to season it right away. We don’t mean the second you bring it through the door, of course, but we do think that you should try to season it before you use it. So, with this in mind, it is important that you do not purchase a cast iron pan like 10 minutes before you intend to use it!
As unlikely as that is, it is still important to keep in mind that you need ample time to get it seasoned and prepared.
Step by Step Guide to Seasoning a Cast Iron Pan

Cleaning the cast iron pan
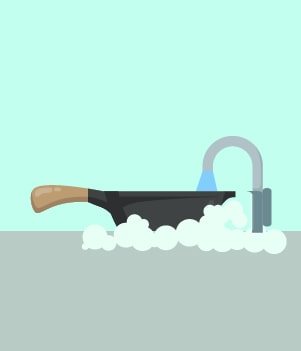 The first step that you need to undertake is the cleaning of your cast iron pan.
Even if it is brand new you should ensure that you take the time to properly clean it out.
Do this using some warm water and mild soap.
You should also use a scrubby pad or brush to remove any loose particles, although you should not be too rough with this in order to avoid damage.
Drying Your Cast Iron Pan
 Next on the list is drying the pan out. When you have washed it with soapy water it is very important to ensure any moisture and soap residue is totally removed.
This will make sure that you can apply the oil more evenly. To begin with, you should use a clean, dry paper towel or a lint free kitchen linen.
When you have got all of the visible moisture and soap off the pan you can set it on a stove.
Turn the heat on to medium and let it sit there for 5 minutes to ensure all moisture is evaporated.
When you are sure it is totally dry you can proceed to the next step.
Time To Oil and Buff Your Pan
 Now for the fun part! The oiling and buffing are the essences of the seasoning process. For this part of the process, you need to get your chosen oil or fat ready, wash your hands, and get ready to start rubbing.
Now, for this step, you can choose to either use your fingers or a clean paper towel to rub in the oil or fat. There is no right or wrong, just do whatever you feel comfortable with, and keep in mind that you will need to buff it in well.
The oil needs to go everywhere on your pan. This means the inside, outside, and even the handles.
For this reason, you should only do this on pans (or any other cast iron cookware) that is bare cast iron.
This is because it needs to go in the oven, and so many other materials would not be safe.
When you are buffing the oil into the pan, you need to ensure you do so evenly, and in a thin layer. Do not use too much as you will be left with too much excess because it will not fully buff in. you should buff until it no longer looks greasy, but instead glossy and shiny.
In terms of oil, we have a whole section about this lined up for you which we will get to a little later! Keep on reading to find out the next steps.
Preheat Oven to 450 degrees
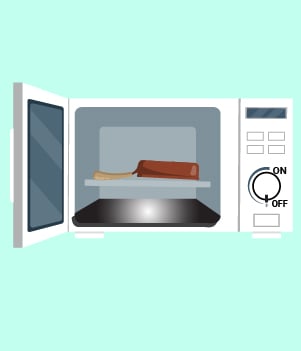 Get the oven preheated. Whilst things are heating up you should prepare a sheet of aluminum foil for the bottom of your oven. The reason for this is because the pan will be put in the oven upside down.
Place the foil in the oven and when the oven has heated to the right temperature you can go ahead and place the pan inside.
As we said, the cast iron pan (or any other piece of cast iron kitchenware you have) needs to go inside the oven upside down.
As you have buffed in the oil well you should not have too many drips, but the aluminum foil will be there to catch any that do occur.
You need to bake it in the oven for around 45 to 60 minutes, depending on the size of the pan. Ensure you can shut the door fully.
When this time is up, turn off the oven but keep the pan inside. The cast iron pan needs to cool inside the oven. This will ensure it will not be as hot when you collect it, and will also give it extra time in the heat as it will not cool down right away.
When it is totally cool, grab your oven mitts (just in case) and bring them out of the oven. It really is as easy as that! When this process is finished your pan is now ready to use. You can test to see how well seasoned it is by doing the fried egg trick.
Fry an egg on the pan and see if it sticks. It may stick a little but it should still come away easily. If it doesn’t then you may need to repeat the process.
Repeating the process can actually be a good idea regardless of whether it is ‘needed’. This is because it will just become even more protected as the layer will be thicker, sleeker, and more non-stick as a result. However, we talk in more detail about this a little later in the article.
Oil Alternatives
So, now that you know exactly how to season your pan, it is time to find out what sort of oil or fat you can use for it. Now, generally, people will have their own preferences. What works for you may not work for someone else.
Wherever you look on the internet there will be reams and reams of people telling you that you should only use this certain oil and that you should never use that certain oil. They will tell you to cook it low and slow or high and fast. It can all get very confusing.
Now, to help you realize that what you use does not really matter, we want to give you a little bit of a science lesson. OK, OK, we know this isn’t school, but trust us, this is important.
The science behind seasoning is that the oil you use penetrates all of the pores of the cast iron. Because it is heated up, the acids inside the oil begin to react, both with the heat of the oven and the metal of the pan. They then begin to break down in a process known as oxidation. After this, they reform with the metal.
This process is known as polymerizing and is where the fatty acids form into large molecules bonding with the metal.
What this does for your pan is create a super thick coating, thick and strong enough to protect it from rusting whenever the pan comes into contact with acids, heat, air, and water. The best part is, every time you do this seasoning process, the layer of protection becomes stronger and thicker. Cool, right?
Something that is even better is the fact that this happens with all oils, as all of them go through this same process. So it truly does not make a difference what oil you use, as you will still get that same reaction.
In fact, whilst there are many disputing sources that say one oil is better than another, there is yet to be a definitive scientific study into what oils are actually better at creating that polymerized effect.
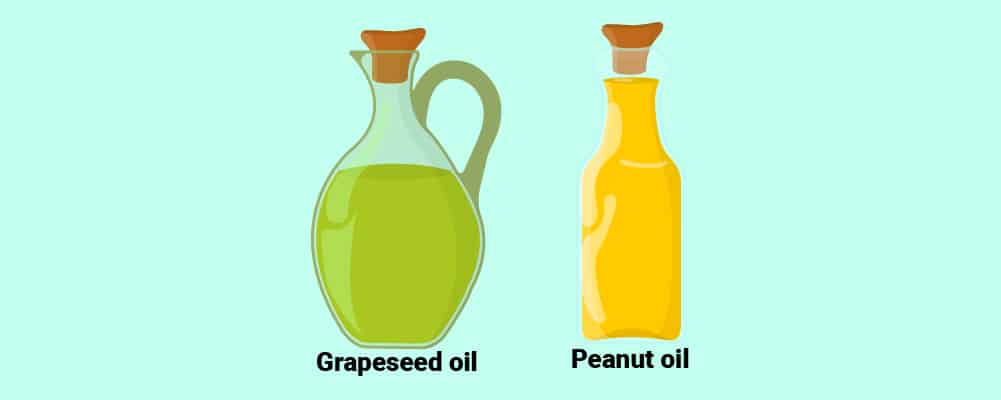
That being said, there are some oils that people prefer to use over others and have found better success with. By this, we mean that they have found some that provide slicker, more non-stick surfaces. For this reason, we thought we should share some of these with you:
- Canola oil
- Grapeseed oil
- Sunflower oil
- Safflower oil
- Flaxseed oil
- Corn oil
- Animal fats (think somewhere along the lines of shortening)
- Butter
- Coconut oil (although, this is disputed by some)
- Olive oil (provided you use the best you can find)
Some people have even found success using Crisco, Pam, and lard. This just goes to show that you do not need a super expensive organic oil to get good results. Whatever oil or fat you choose to use, as long as you follow our instructions from earlier in the article you will not go far wrong and should still get excellent results.
The trick is to use just a small amount – about enough to cover it and buff in. you should not have noticeable excess oil dripping from the pan.
Extra Care For Your Pan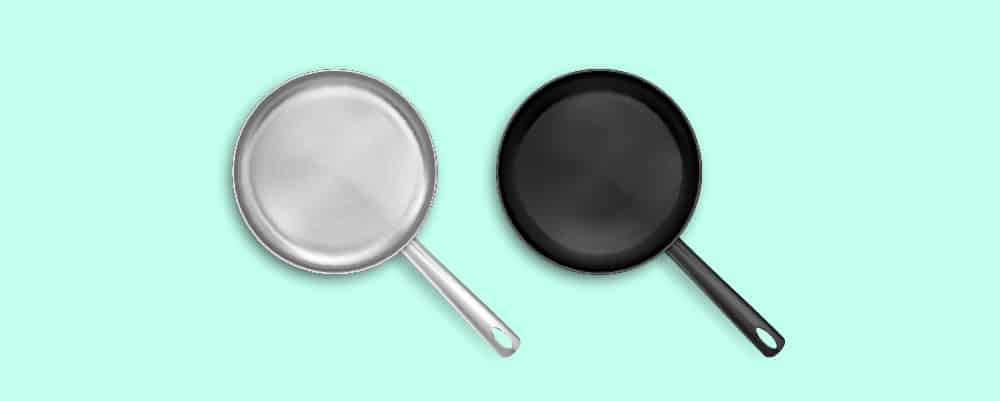
As we mentioned earlier in the article, many people ask the question of whether seasoning is just a one time thing, or whether it needs to be repeated. As well as this, if it does need repeating, how often should you be looking to do it? Well, the answer to these questions depends on how much use you get out of your pan.
It is good practice to take good care of your pan and repeat the process every now and then, for example, when you begin to notice that the non stick abilities have worn off. However, some users of cast iron pans will often say that they seasoned it once many years ago and have never needed to season it again.
If that doesn’t tell you that there is no right or wrong answer then we don’t know what will! That being said, there is no harm in repeating the process as often as you wish. It will not negatively impact the cast iron skillet or pan in any way, and will only strengthen the layer.
To do this all you need to do is repeat the steps in our earlier section on seasoning your pan. At this point, the pan is likely to have more wear and tear than before, as well as some ground in burns and marks. That is totally fine.
Simply use the same cleaning process of mild, warm soapy water and a scrubbing brush to loosen any bits that you do not want to be baking in the oven. Ensure you dry it fully with a clean paper towel or lint free kitchen linen. You can even place it on a medium heat to evaporate all the moisture.
After this simply add your oil and bake like before for 45 minutes to one hour at 450 degrees, remembering to place down a sheet of aluminum foil to catch any excess oil. Turn the oven off after the specified time, let it cool, and then remove it from the oven. Voila! You are good to go!
Ready to make those taste buds prosper
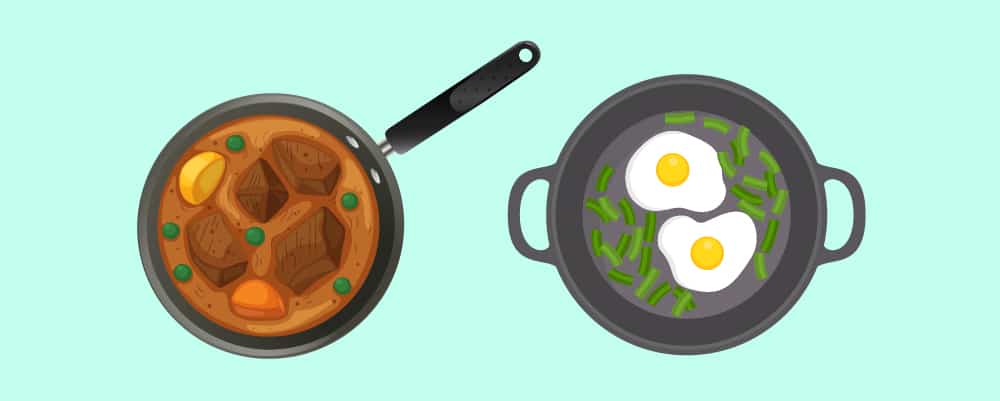
One of the best things about having a cast iron pan (or any other type of cast iron kitchen accessory) just has to be the food you can make with it. In this section of the article, we really wanted to share with you five of our favorite recipes that you can make with a cast iron pan. They are all super easy and we just know that you will be itching to try them all out!
Chocolate Skillet Pan Cookies
We think that chocolate chip cookies are one of the most delicious desserts you can try. Whether you have them as an afternoon snack, or as an after dinner treat, there is nothing more satisfying.
Our chocolate skillet pan cookies are wonderfully moreish. And what’s more, they are super easy to make! Take our word for it, you will be blown away by the taste and ease, as will all your family and friends!
Recipe
- 1 cup of brown sugar
- 2 eggs (one whole egg and one egg yolk)
- 12 tablespoons of unsalted butter, melted
- 0.5 cups of granulated sugar
- 1 tablespoon of good quality vanilla extract
- 0.5 teaspoon of salt
- 0.5 teaspoon baking soda
- 1 cup of semi sweet or dark chocolate chips
- 0.5 cups of milk chocolate chips
- 2 cups of flour (and an extra 2 tablespoons)
Procedure
- Preheat your oven to 325 degrees
- Blend melted butter and both of your sugars in a bowl with an electric whisk
- Add in your egg and egg yolk, along with the vanilla. Mix it well until combined.
- Add in flour, baking soda, and salt bit by bit, mixing slowly until combined.
- Add in all your chocolate chips
- Ensure you have mixed everything to form a cookie dough and then press into your cast iron pan evenly
- Bake it in your preheated oven for up to 35 minutes (or until golden) but do not overbake it as it will continue cooking in the pan
- Cool the cookie and then slice it (or eat it straight out of the pan, we won’t judge you!)
- Tastes delicious with vanilla bean ice cream!
Sweet Potato and Egg Hash
Next up is our foolproof brunch favorite. Sweet potato and eggs work so well together, and this easy cast iron pan or skillet recipe will soon become a weekend brunch favorite. Full of delicious healthy fats, protein, and healthy carbohydrates, this recipe will have you becoming the resident brunch maker…or lunch…or dinner…
Recipe
- Washed and diced sweet potato (use whatever amount you want, but we recommend around 2 lbs)
- Diced red onions (around 1 cup)
- 1 cup of diced bell peppers in any color you wish
- 1 garlic clove (minced)
- 2 tablespoons of oil (we use extra virgin olive oil)
- 4 large hens eggs
- Smoked paprika
- Salt and pepper (for seasoning)
- Green onions sliced thinly for garnish
Procedure
- Preheat your oven to 425 degrees and prepare your cast iron pan
- Turn your stove top on a medium heat, place your pan on top and add in your diced red onions and oil of choice. Sauté them for 1 minute and then add in your garlic. Sauté this for 1 minute too.
- When the onion and garlic are sautéed add in your sweet potatoes, some salt, and pepper, and stir it. Leave them in there without stirring for around 4 minutes, then stir and leave them for 4 minutes again.
- Add in your cup of peppers and any additional extras you want such as chopped mushrooms, tomatoes, or even some chorizo if you wanted to make it a meat dish
- Add in your smoked paprika and turn off the heat.
- Make four ‘wells’ in the mixture. This is where you will be cracking the eggs. If you want you can crack each egg into a bowl one at a time. This will ensure that no shell goes in the mixture. When each egg is in place you can pop the whole cast iron pan in the oven.
- Bake it until each of the eggs has set. This may take around 8 minutes, depending on how you like your eggs.
- Remove the pan when the eggs have cooked to your preference, add on the green onions, and season with salt and pepper to taste. Serve it hot with some delicious cornbread and salad!
Comforting Mac and Cheese
Is there anything more comforting than mac and cheese? This one pan recipe will quickly become your favorite for those days when you just need a taste of nostalgia. And what’s more? It is super easy to make. Carbs and cheese are one of the best pairings in the world, aren’t they?
Recipe
- 1.5 cups of dried macaroni pasta
- 2 cups of shredded cheese (use whatever cheese you like, but we think cheddar works particularly well!)
- 2 cups of milk
- 3 tablespoons of flour (all purpose works best)
- Salt and pepper to season
- 3 tablespoons of unsalted butter
Procedure
- First thing’s first, ensure that your oven is preheated to 350 degrees
- Boil a pot of water and add in some salt. When this is boiled you can add in all of your pasta and cook it. You should aim for a slightly firm finish (al dente).
- Whilst the pasta is cooking you can add your butter to your cast iron pan and melt it over a low heat. Then add in your flour to make a roux (simply a mixture of flour and butter).
- When the roux is slightly golden brown you can add in your milk, ensuring to whisk it to get rid of any lumps. Add in salt and pepper and thicken the sauce by stirring it frequently with a wooden spoon. Do this for around 5 minutes and then add in your shredded cheese of choice.
- Drain your cooked pasta. Add the pasta into your cheese sauce and stir it.
- Put the whole cast iron pan into the oven and bake it for around 30 minutes or until golden brown. You can even put it under the broiler if you want it extra crispy!
- Remove it with oven gloves and serve.
S’mores Dip
Who says you need a campfire and a tent for s’mores? This s’mores dip can be made in minutes. It is an excellent addition to any sleepovers and will prove a family movie night favorite.
Recipe
- 0.5 tablespoon of butter
- 2 cups of milk chocolate chips
- 0.5 cups of semi sweet chocolate chips
- A packet of mini marshmallows
- Graham crackers for dipping
Procedure
- Preheat your oven to 450 degrees.
- Turn on your stovetop and set your cast iron pan onto it.
- When your pan has heated add in your butter to melt and then use a pastry brush to brush the butter over the pan.
- Next, you need to take the pan off the heat and add in your chocolate chips. When the chips have been added you can top them with a layer of the marshmallows.
- Bake the whole pan in your oven for around 5 minutes until the marshmallows begin to turn golden brown in color
- You can then remove the pan and serve it whilst it is still hot (but be careful) using the graham crackers to dip into the s’mores mix.
Roasted Chicken
Roast chicken is such a simple but delightful pleasure, and thanks to the versatility of a cast iron pan you can now make it easier than ever. You do not need masses of random herbs and spices for this recipe, and it is a great midweek dinner that you can make in no time. You can even make it ahead and use it for salads at the weekend.
Recipe
- One whole chicken
- 3 tablespoons of your favorite oil (extra virgin olive oil works best but you can choose whatever you want)
- Salt and pepper to season
Procedure
- Put your cast iron pan into your oven and turn the heat right up to 500 degrees (trust us on this)
- Whilst the pan is heating inside the oven prepare your chicken by rubbing it with the oil and then seasoning it with your salt and pepper.
- When the pan has heated enough, remove it carefully from the oven and then put the whole chicken onto the pan with the breast side facing up.
- Put the pan back into the oven and let it roast for 15 minutes before turning the temperature way back down to 350 degrees, this is where it will stay for the remainder of the cooking time.
- The cooking time will vary depending on the size of the chicken. The best way to check if it is done is by using a meat thermometer. Insert the thermometer into the thigh and check if it reads between 155 and 165. This will tell you it is done.
- When it is done simply take the pan out of the oven and transfer the chicken to a platter. Let it rest for a little while and serve.
All of these recipes are bound to go down a treat, and will get you some good use out of your cast iron cookware!
Conclusion – Be sure to maintain cleanliness of pan for future cooking
In conclusion, we want to ensure that you know how important it is to keep the pan clean for any future cooking. This will ensure that the seasoned layer that you worked so hard to build up will stay intact, protecting the pan from rust and corrosion, and protecting your delicious food from sticking.
Many people incorrectly state that you shouldn’t use soap and water to clean your cast iron cookware. However, from our experience, we have never had a problem with it. Provided you use a mild soap and warm water rather than boiling, there are no issues. You should also ensure that you dry it completely right after cleaning!
We hope that you have found this article extremely useful and that you are well on your way to seasoning your own cast iron pans! Remember to practice safety when you are bringing the pan in and out of the oven, and above all enjoy!
Thank you for reading!
